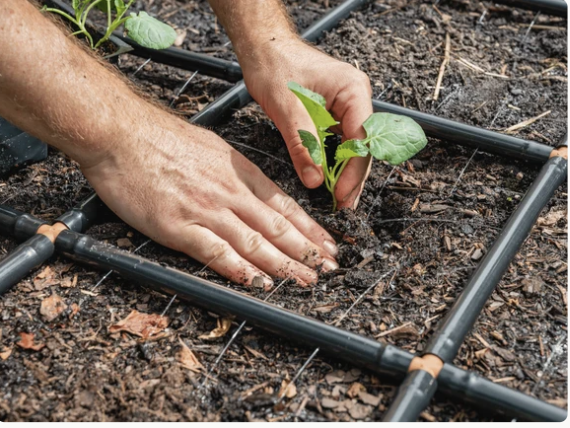
How to Set Up a Drip Irrigation System for Raised Beds
Save time, water smarter, and keep your plants happy all season long.
Drip irrigation delivers water slowly and directly to your plants’ roots—right where they need it. It’s efficient, easy to install, and perfect for raised beds. Here’s how to set one up in just a few simple steps.
By Lucky Cat Gardens | May 12, 2024 | 8 min read
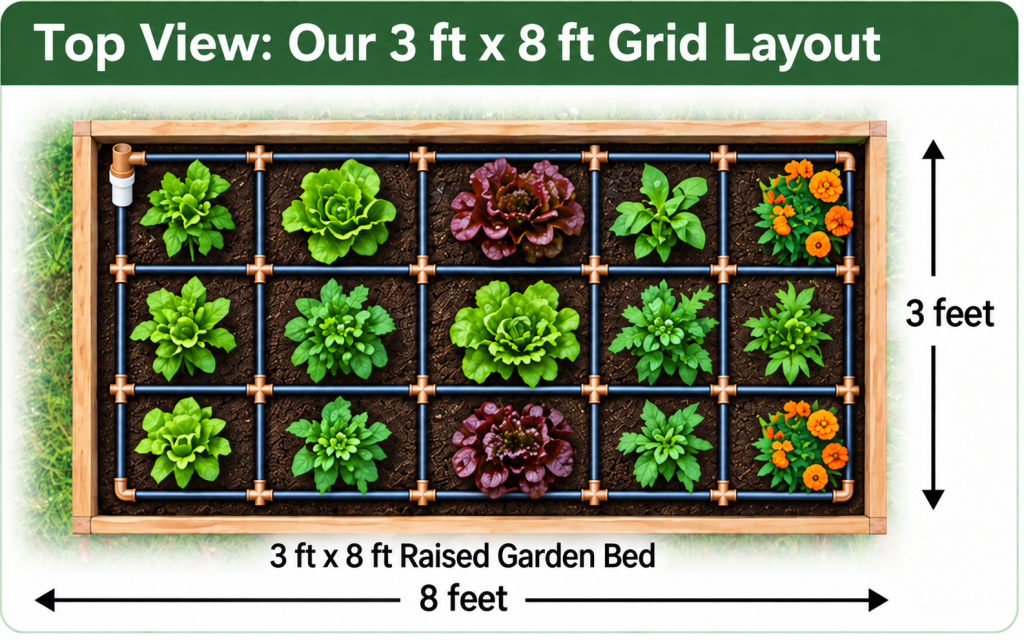
System Overview - How Our Bed is Watered
STEP – BY- STEP
Build Your Drip System
Plan and Measure
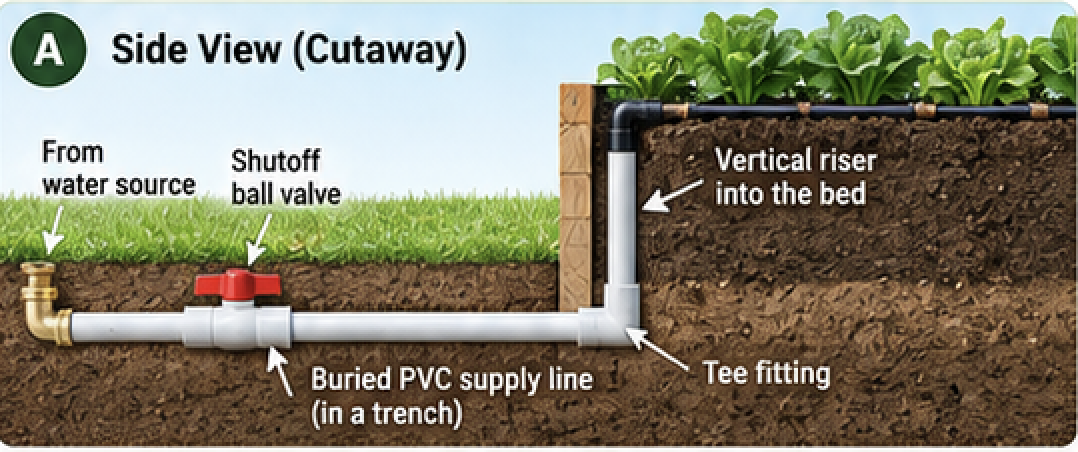
Plan the water source, trench, and riser location, keeping the route as straight and simple as possible.
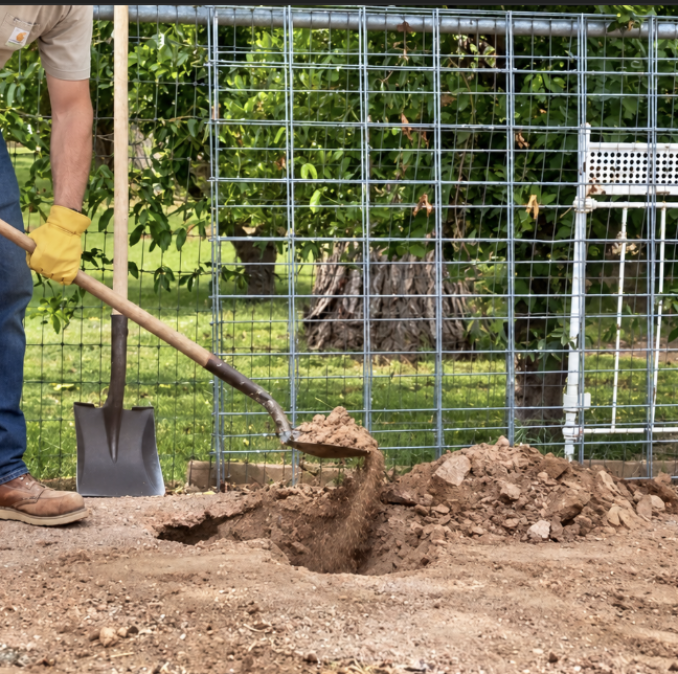
Dig the Trench
Dig a trench from the water source to the raised bed, deep enough to protect the PVC line.
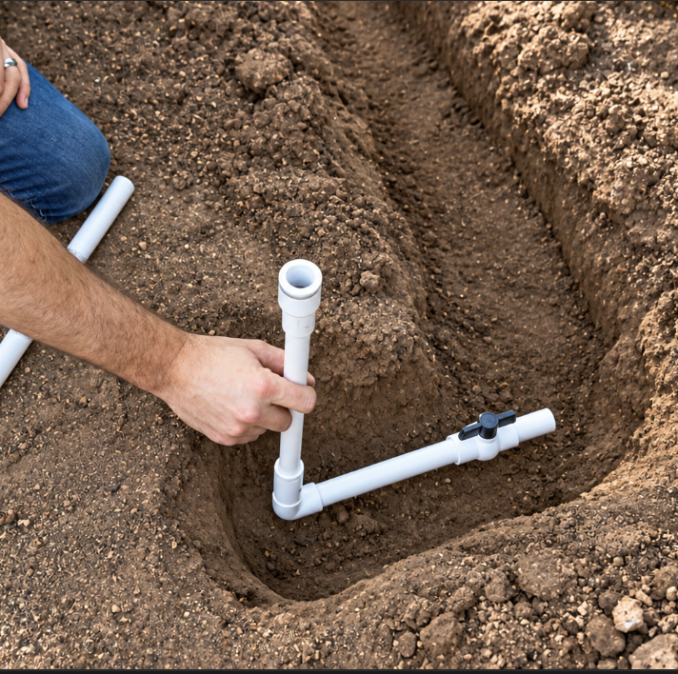
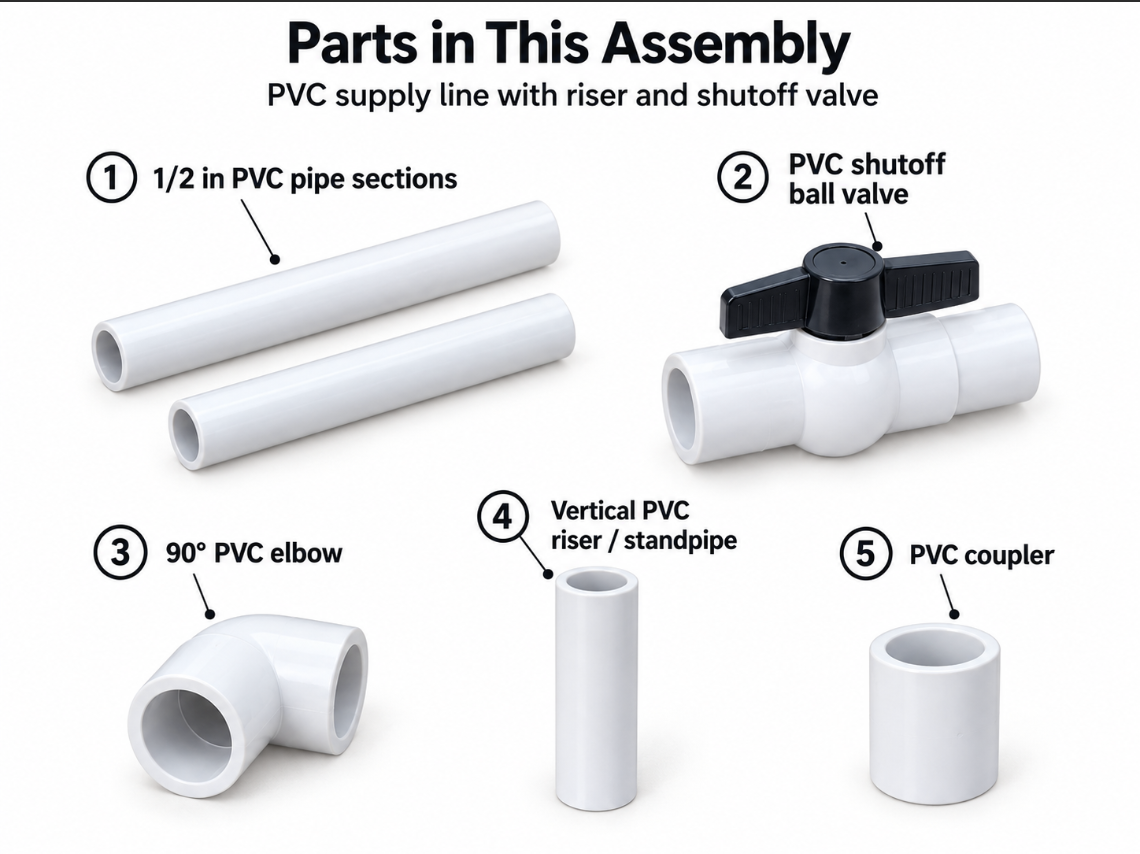
Measure & Dry-Fit the PVC
Measure, cut, and dry-fit the PVC first, making sure all fittings and the riser line up before gluing.
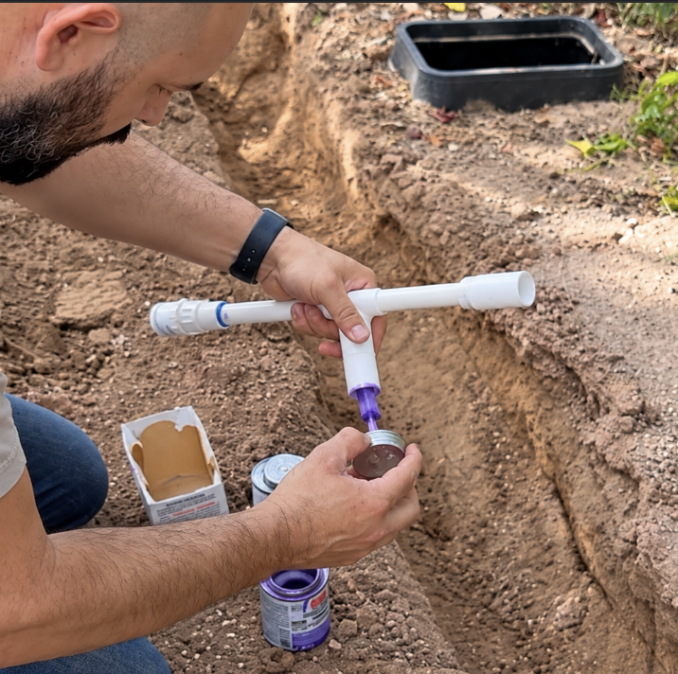
Prime & Glue the Joints
Prime and cement each PVC joint, one connection at a time, keeping everything aligned.
Tip: Flush your system before final assembly to clear out any debris.
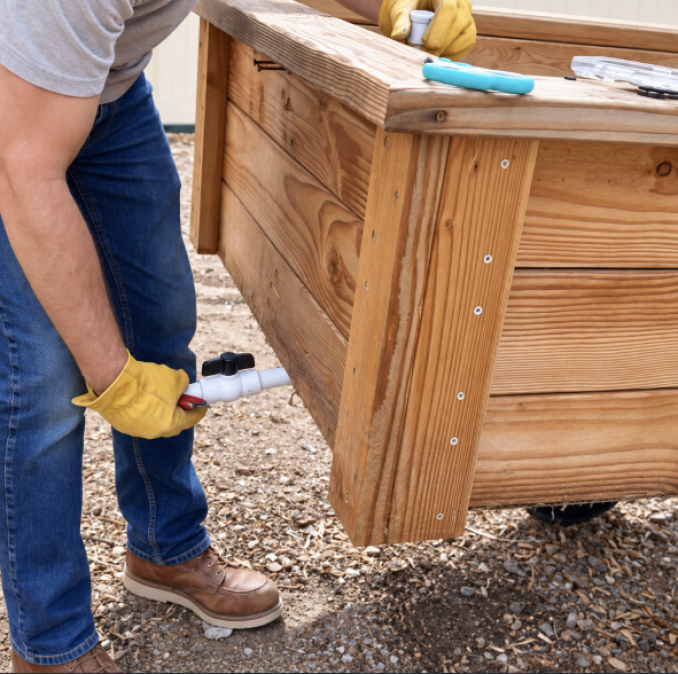
Install the Riser into the Bed
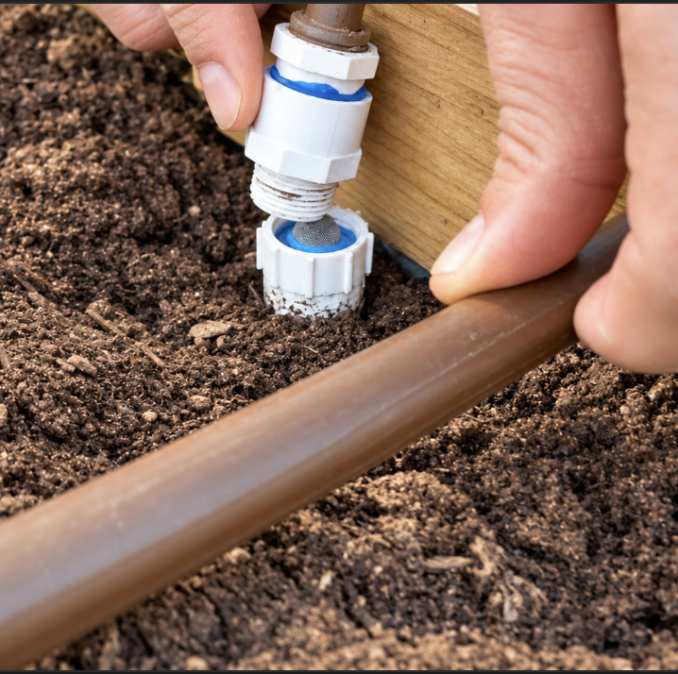
Bring the feed line up inside the bed with a vertical standpipe (riser). Cut to height and add a threaded cap on top.
Build the DIY Grid
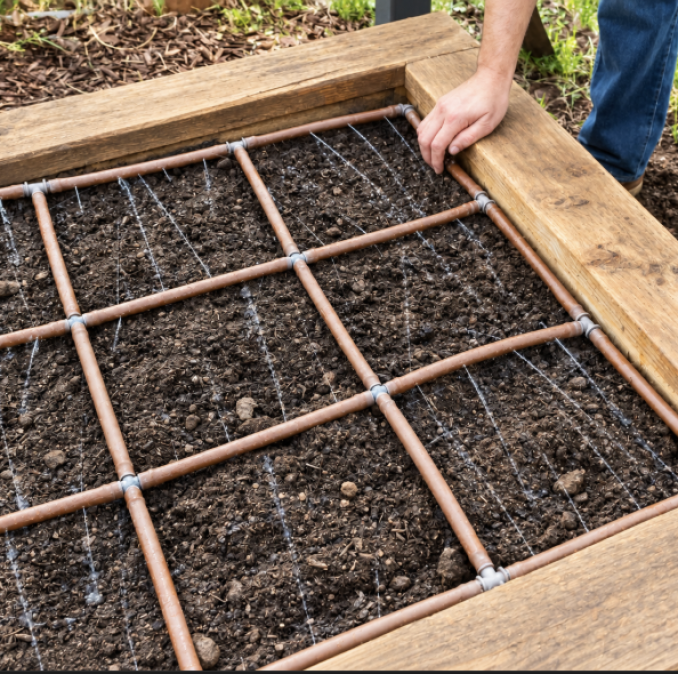
Lay out 1/2″ poly tubing in a grid using tees and elbows, then cap the ends. Mark holes about every 3 inches and carefully drill with a 1/16″ bit, avoiding fittings.
Add Filter & Attach Grid
Once the fit looks right, prime and cement the PVC joints. Work one connection at a time and keep the orientation correct.
Test, Mulch & Plant
Once the fit looks right, prime and cement the PVC joints. Work one connection at a time and keep the orientation correct.
Quick Tips
Flush the line before final assembly.
Keep pressure regulated (25-30 PSI).
Clean the filter screen regularly.
Stake or clip tubing to prevent shifts.
Test for leaks before covering or mulching.
Why This Layout Works
Buried PVC gives a durable supply line
Protects the main line from sun and damage.
A riser at the bed makes connections easy
Easy to access, repair, or shut off.
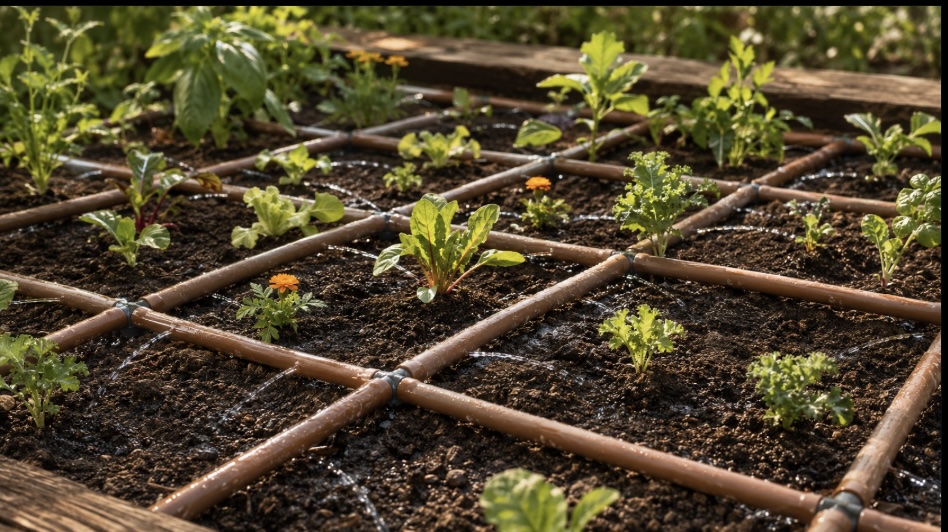
A grid gives broad, even coverage
Even watering for healthier growth.
Test the soil, not just the timer
Watering duration varies by soil, climate, and plant size.
Two Good Options
DIY Watering Grid (Lowe's Materials)
Customizable to your bed size and plant layout.
Budget fiendly using common parts trom Lowes.
Easy to repair or expand as your garden grows.
Great for gardeners who enjoy hands-on projects.
Premade Garden Grid (Garden in Minutes)
Fast and easy just set it in your bed and connect.
Even spacing delivers consistent watering across all plants.
Clean, polished look with less measuring and cutting.
Great for beginners or busy gardeners.
Which One Should You Choose?
Choose DIY
if you want lower cost, custom sizing, or enjoy building your own system. It's flexible, repairable, and perfect for unique layouts.
Choose Garden in Minutes
if you want a fast, polished setup with even spacing and minimal measuring. It's ideal for busy gardeners.