
DIY Strawberry Raised Garden Bed — Final As-Built Dimensions (SketchUp)
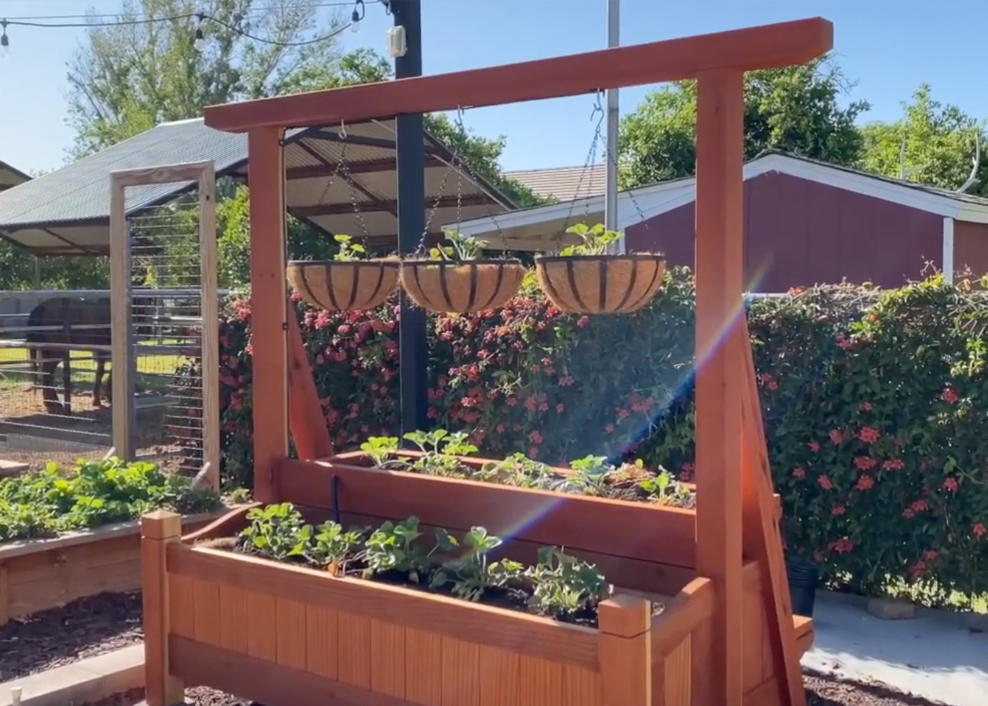
This post reflects the final **as-built** dimensions taken directly from our SketchUp plans so you can recreate the bed exactly. It’s a cedar two-tier planter with a 4×4 overhead beam for baskets — strong, beautiful, and efficient.
As-Built VerifiedCedarTwo-Tier Shelves4×4 Beam
Watch the overview above, then use the dimensions and plans below to build yours.
Final Dimensions (from SketchUp)
| Section | Dimension | Notes |
|---|---|---|
| Overall Height | 6′ 6½″ (78.5″) | Ground to top of 4×4 beam |
| Overall Length | 7′ 6″ (90″) | End-to-end of top beam |
| Overall Depth | 2′ 11½″ (35.5″) | Front to back footprint |
| Inside Width Between Posts | 5′ 5″ (65″) | Clear span for shelves |
| Lower Planter (top edge height) | 2′ (24″) | From ground |
| Upper Shelf Height | 1′ 3″ (15″) | Box height |
| Vertical Gap (between shelves) | 1′ 10″ (22″) | Front lip to front lip |
| Beam Clearance above Upper Shelf | 4′ 1″ (49″) | Great for hanging baskets |
| Shelf Angle | ~15° | Improves drainage & visibility |
| Beam & Posts | 4×4 (actual 3½″×3½″) | Beam spans 7′ 6″ |
Tools
- Drill/driver + countersink & pilot bits
- Pocket-Hole Jig
- Miter saw or circular saw with straight-edge guide
- Speed square, tape measure, level, clamps
- Safety gear (glasses, hearing protection, gloves)
No pocket-hole jig? Pre-drill clearance holes and use exterior screws — simple and strong.
Build Overview
- Base & Posts: Layout a 6′ × 35.5″ rectangle. Assemble lower box with 2×6s. Plumb and secure 4×4 posts.
- Shelves: Build two 2×4 frames to ~65″ length. Mount on brackets/cleats at the shown heights with a ~15° tilt.
- Beam: Install 4×4 beam (90″) across the posts. Add hooks for baskets.
- Finish: Sand edges, apply exterior stain/sealer, line shelves, add drip, then plant.
Get the Printable Plans
Includes materials, dimensions, and full build instructions for the 5′×3′×7′ strawberry bed with hanging bar.
Download the PDF Plans